
After reading an excellent piece by Annie at An Unrefined Vegan entitled You’re Only As Good As Your Last Post & 9 More Thoughts on Blogging, I debated whether to make this post at all.
One of Annie’s pieces of advice is not to put out too many – or too few – posts. It made me think. Am I putting out too many? Too few? There are plenty of bloggers who seem to put out content almost every day, and I find myself wondering where they find the time?
For me, it takes VERY long to put a post together. First, I have to dream up a dish, then create a recipe for it, grocery shop, test it, cook it for the blog, chose (or go out and buy new) props to photograph with, take photos before/during/after the cooking process, clean up the kitchen/dining room/living room or where ever I dragged the food around to photograph it, write the post, select a handful of photos to use out of the hundreds of shots taken, edit the photos, log into WordPress to compile everything necessary on the “back end” for publication, preview and tweak it until it’s just right, and then hit publish. It’s about all I can do to put 3 posts (my goal) per week – especially when this isn’t a paying gig!
So when a recipe I think can become a great one turns into a time-sucking nightmare, my motivation grinds to a halt.
That’s when I re-read Annie’s article and did a little soul searching. Why am I doing this blogging thing? Because I think I’m a pretty good cook, know a fair bit about nutrition, and hope that whatever I put out into the ether-world will get picked up by someone who wants/needs the information.
Then I had to balance her advice that “you’re only as good as your last post” against her other advice that “screwing up is part of the process”, but most of all “have fun.”
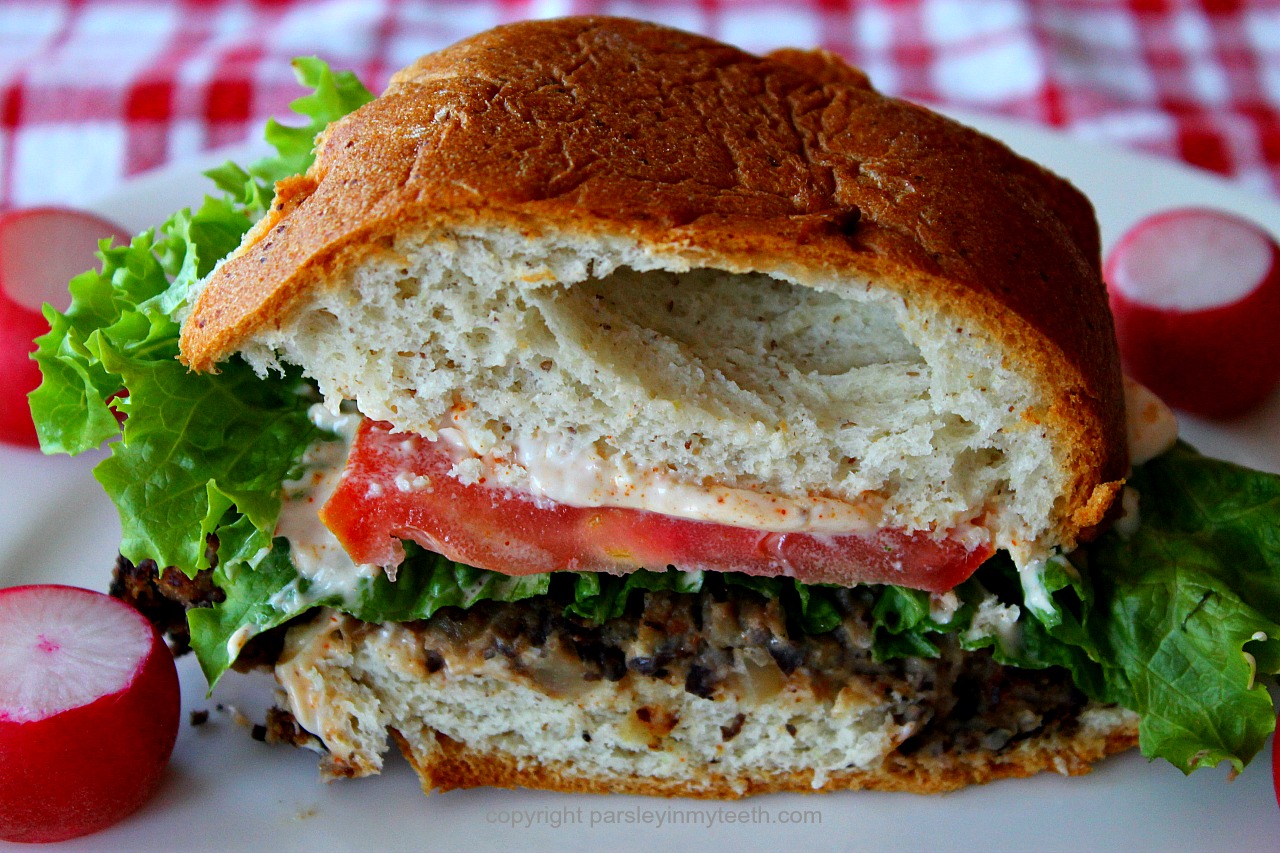
Okay. That’s all the permission I need to go ahead and publish this. This recipe is not perfect. If I were making this for a cookbook, obviously more testing would be involved. And it doesn’t photograph that well. But for better or worse, here it is.
The reason I wanted to make a veggie burger in the first place is because when I eat the frozen variety, my fingers swell up the next day and I gain weight. Probably has something to do with the amount of salt and additives used.
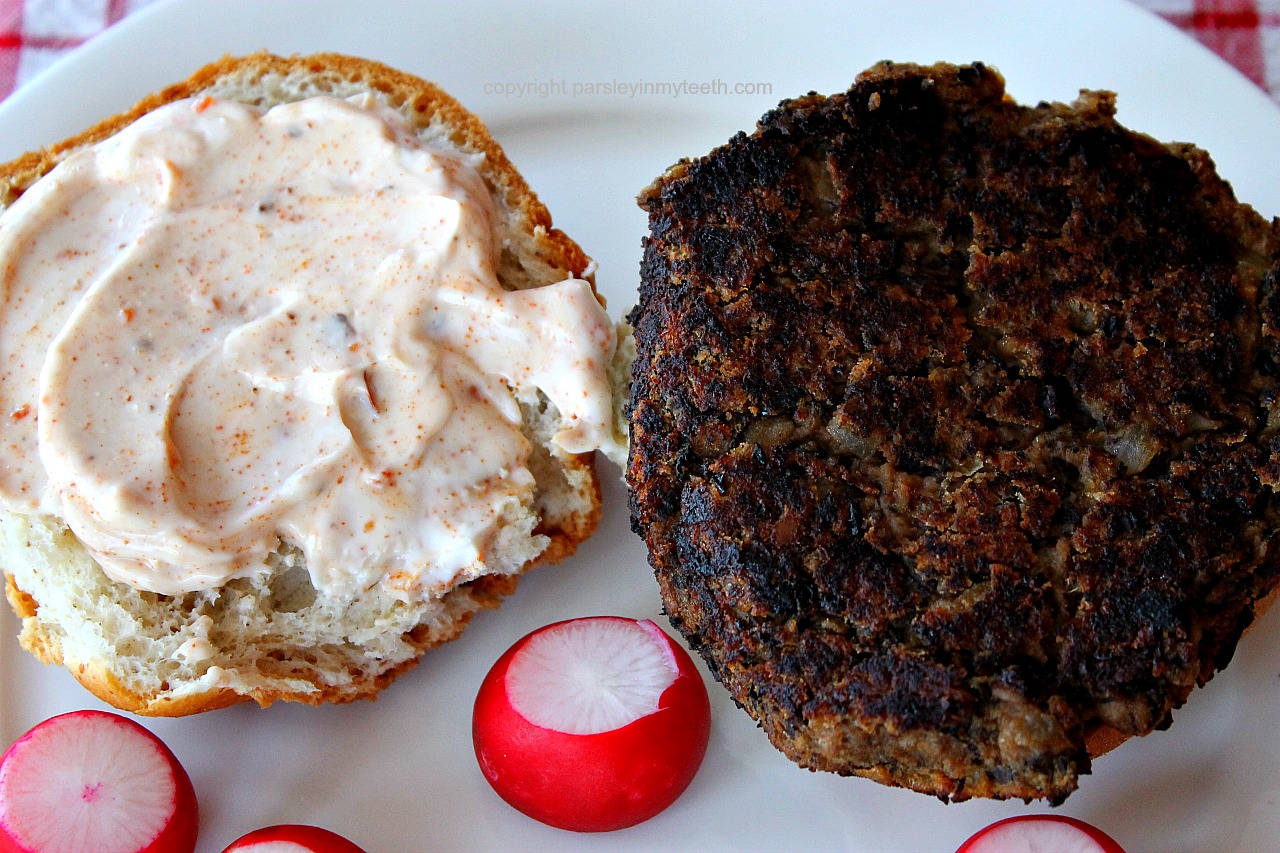
How hard can it be to create a veggie burger?? Ummm, a lot more than anticipated, that’s for sure. There apparently is an art to making these things and I haven’t mastered it. But for someone who just wants to bite into a big, fat, tasty burger, this will do the trick.
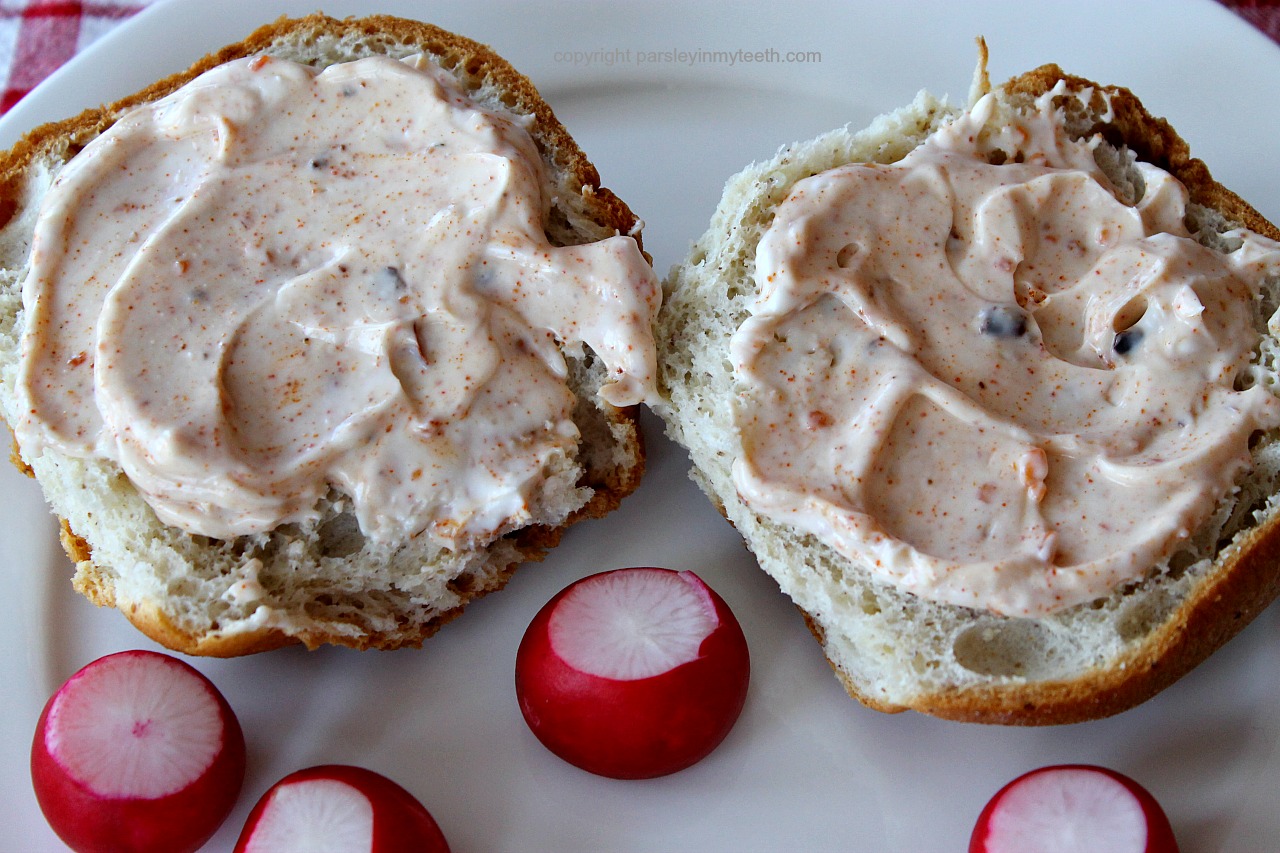
I wanted to use as few ingredients as possible. I also wanted to keep the burger vegan, so cheese, eggs, gums or gelatins as the binding agent are not options. Possible substitutes are almond flour, flaxseed meal, or ground chia seeds. I used almond flour, but ground chia seeds may work better because they absorb so much liquid. This burger is a bit crumbly, but that’s what the chipotle mayo is for – slather it on thick like mortar!
Ingredients (makes 8 burgers)
2 14-ounce cans black beans (rinsed and drained well)
1 14-ounce can lentils (rinsed and drained well)
1 medium yellow or white onion (medium dice)
¼ cup almond flour (or 2 tbsp. ground chia seeds)
2 tsp. ground cumin
1 tbsp. hot smoked paprika
1 tbsp. grated garlic
salt to taste, if needed
8 hamburger buns (gluten/dairy free, or any of your choosing)
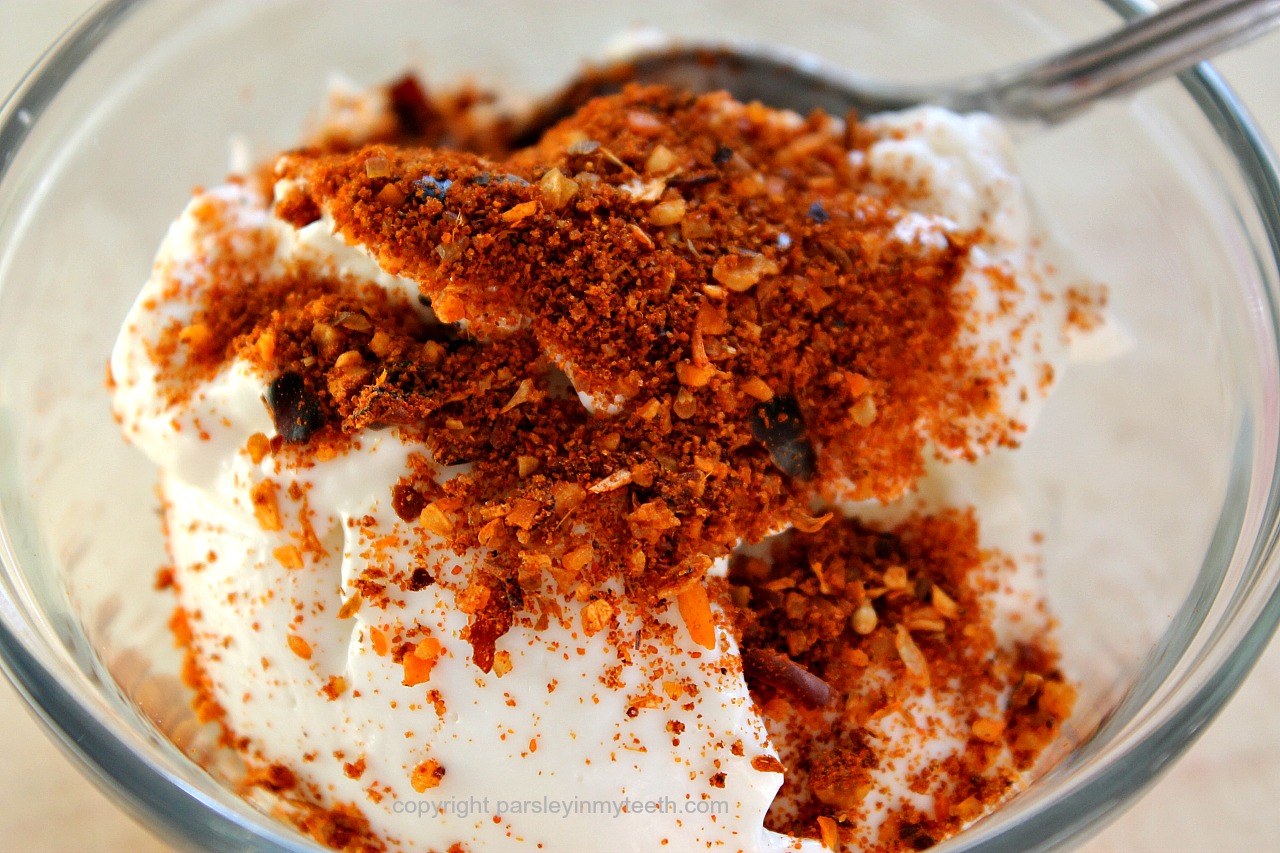
Sauce Ingredients
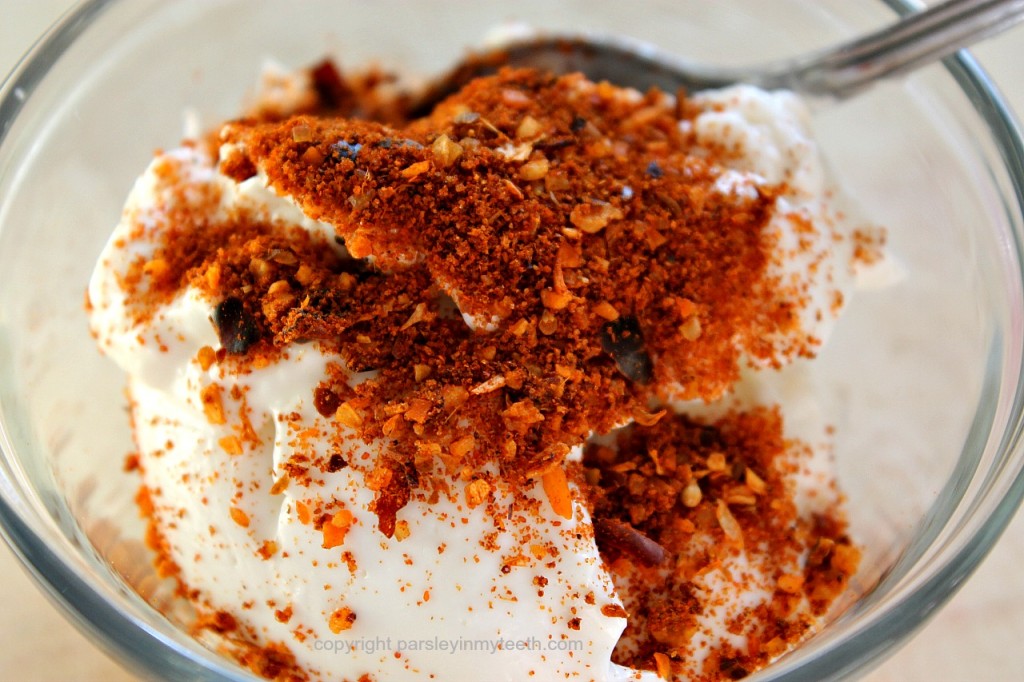
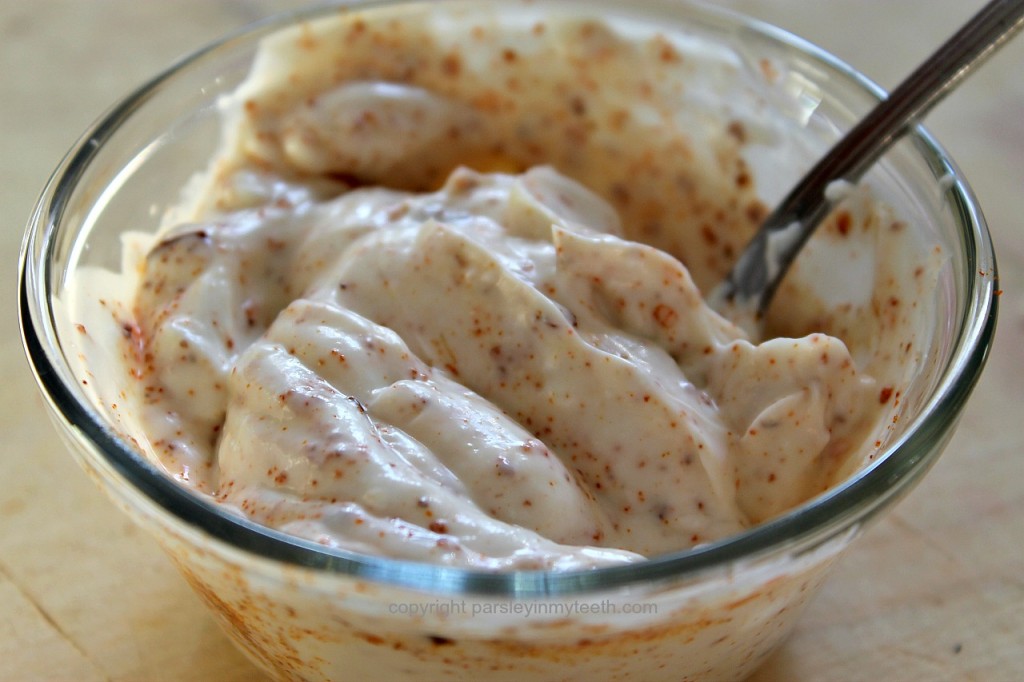
1 cup mayo or greek yogurt (or Vegenaise for vegans)
2 tsp. chipotle powder (or combine paprika with cayenne pepper)
Directions
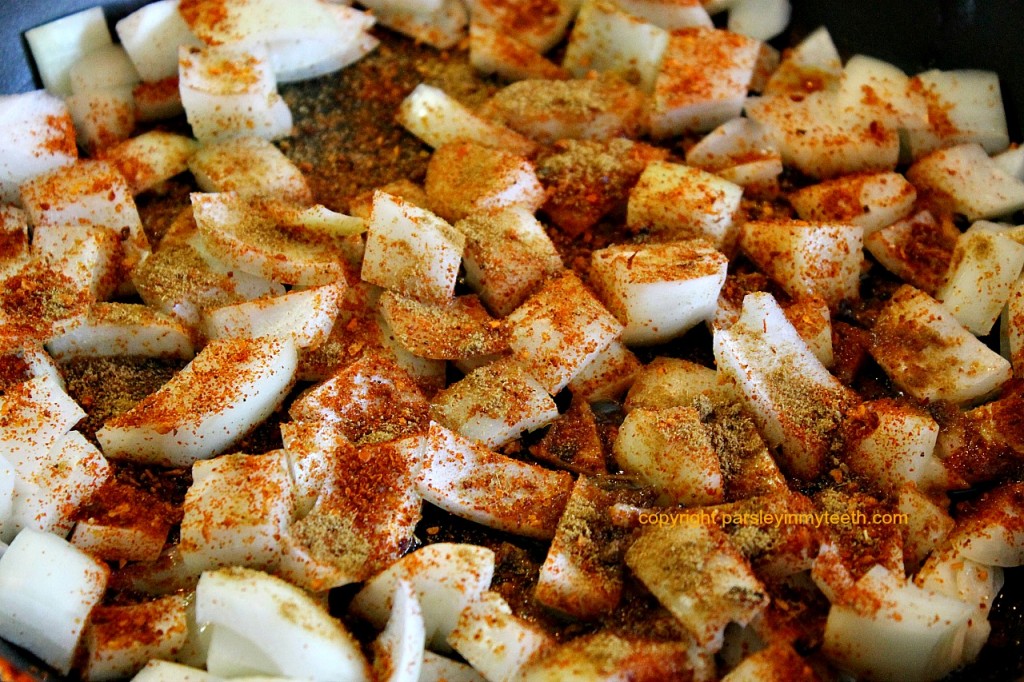
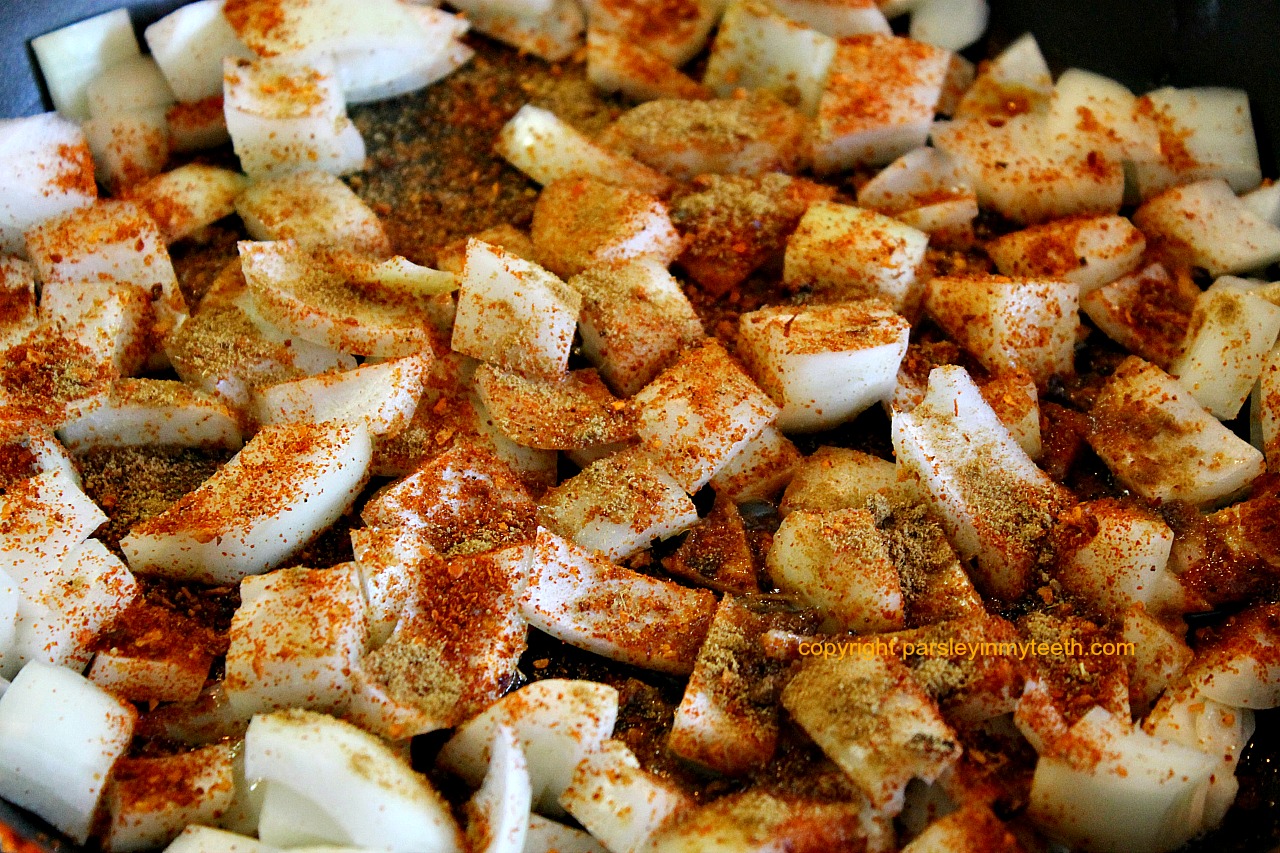
- In a non-stick frying pan over medium heat, saute onion in 3-4 tablespoons canola oil for 1 minute. Then add ground cumin, smoked paprika and grated garlic. Saute for about 7 minutes until cooked.
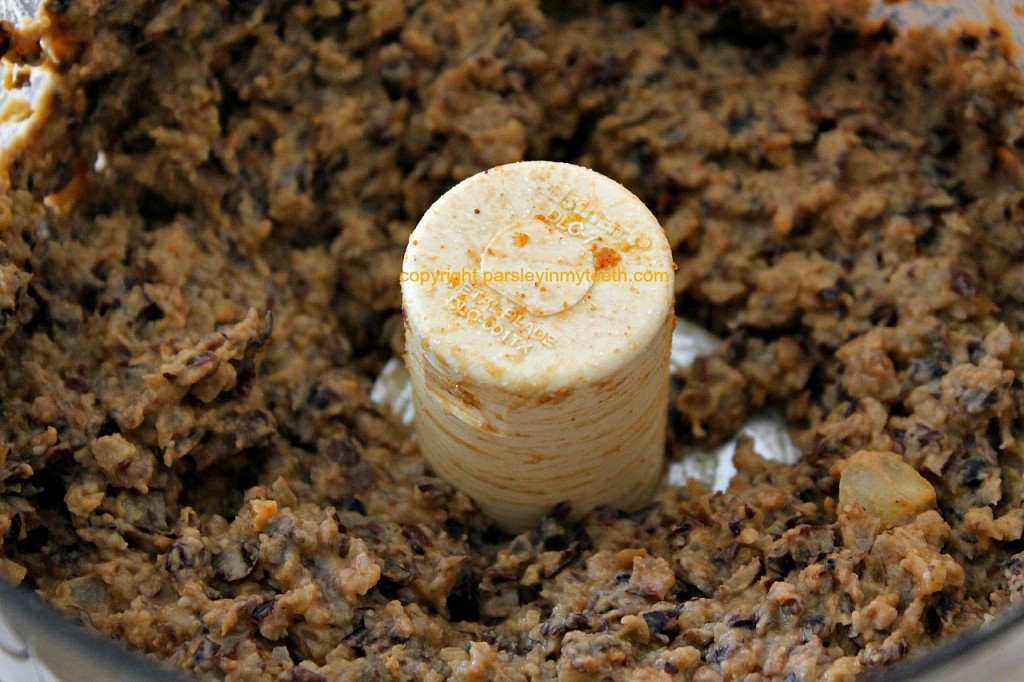
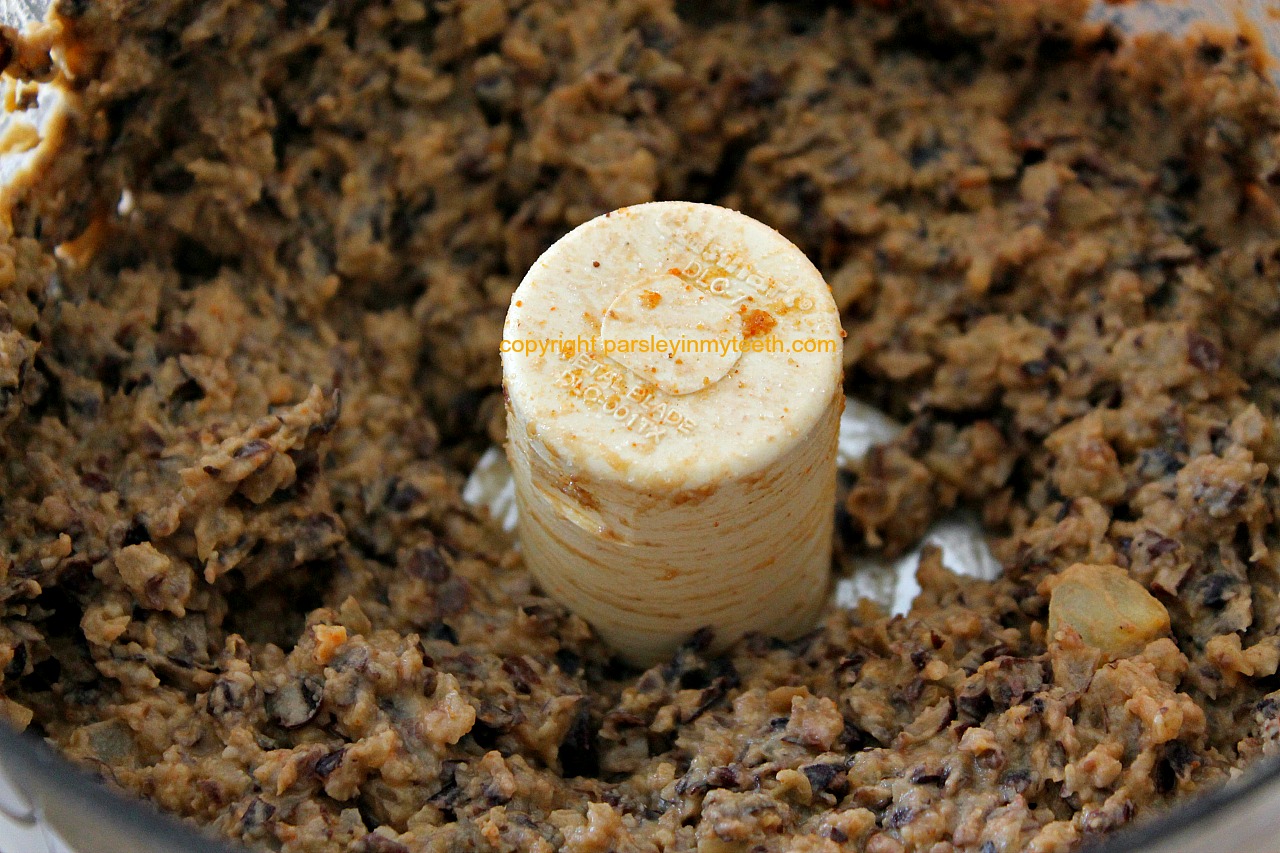
- Place beans, cooked onions and almond flour in food processor. Pulse to combine, but do not puree. Taste for salt, if needed. Let stand for about 5 minutes so flour (or ground chia seeds) can absorb some of the moisture.
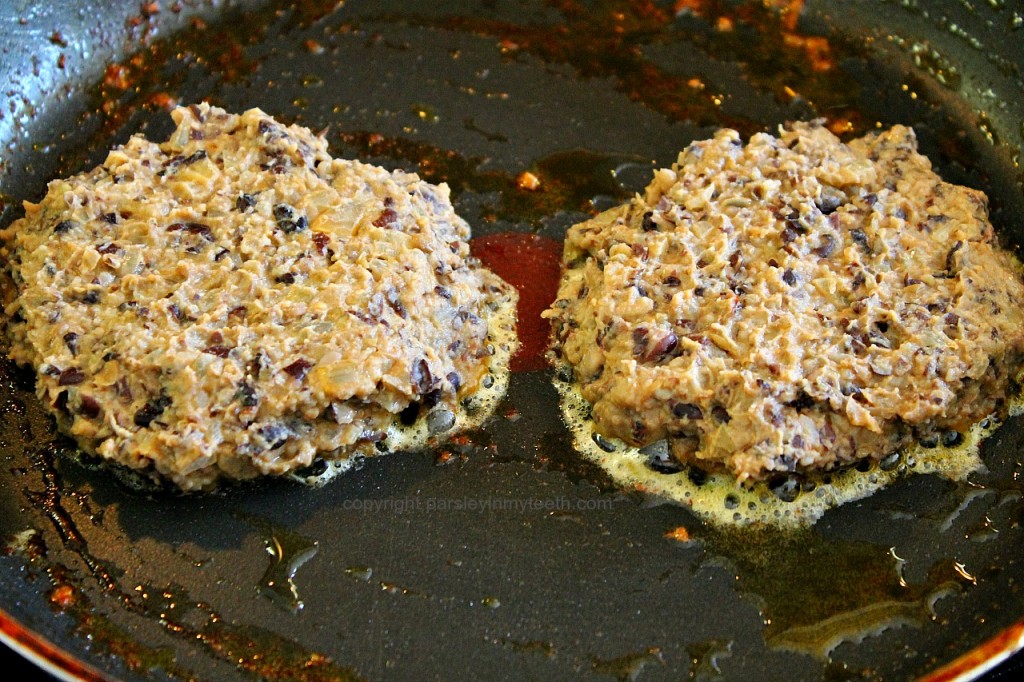
- Using the same pan for sautéing the onion (making use of any leftover seasonings and flavors!), spray a thin coat of canola cooking spray over the bottom of the pan.
- Place about ½ cup of the bean mixture in your hand and form into a patty the size of your palm and about ½ inch thick. Cooking 2 patties at a time, place them in the pan and pat down slightly to ensure uniform size for even cooking.
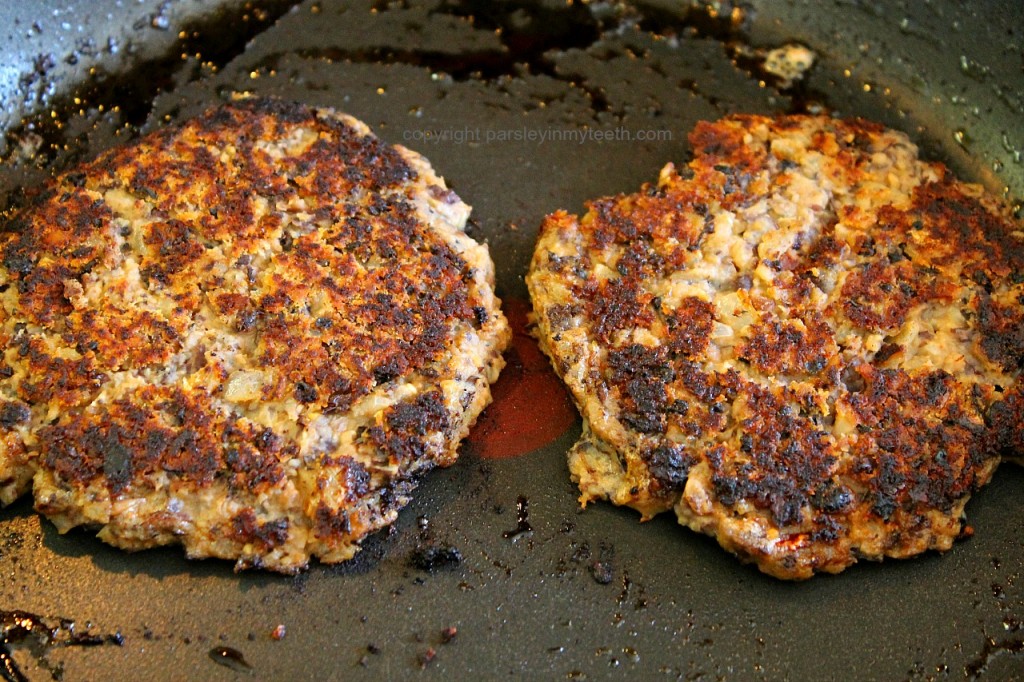
- Cook on high heat for 2-3 minutes until crust starts to form, then lower heat to medium and cook another 5 minutes. Before flipping, spray the uncooked side of the patty with a light coat of canola cooking spray. Using a large spatula, flip and cook the other side in the same manner as the first. (Each side should cook a total of 7-8 minutes.)
- While patties are cooking, prepare sauce by combining ingredients.
- After patties are cooked, let them rest on a plate for about 5 minutes.
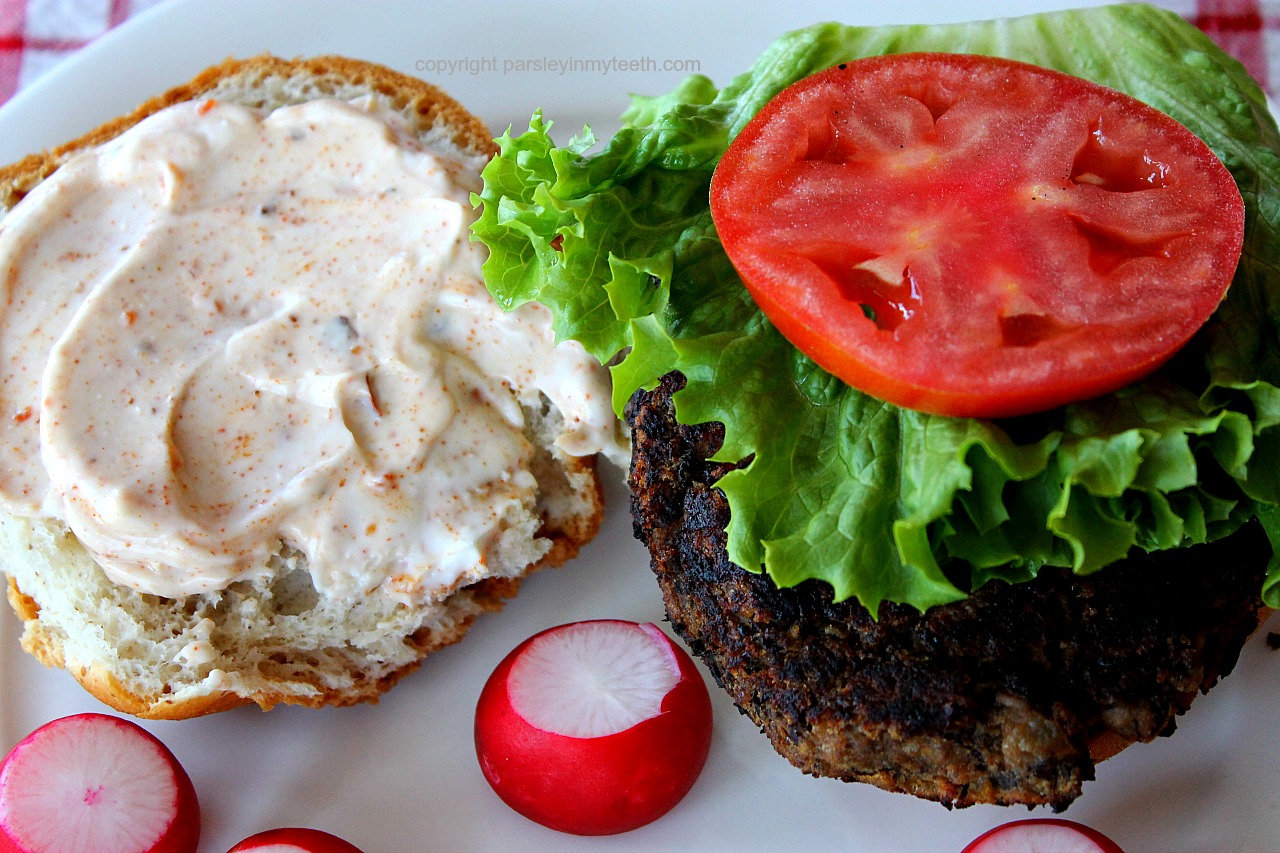
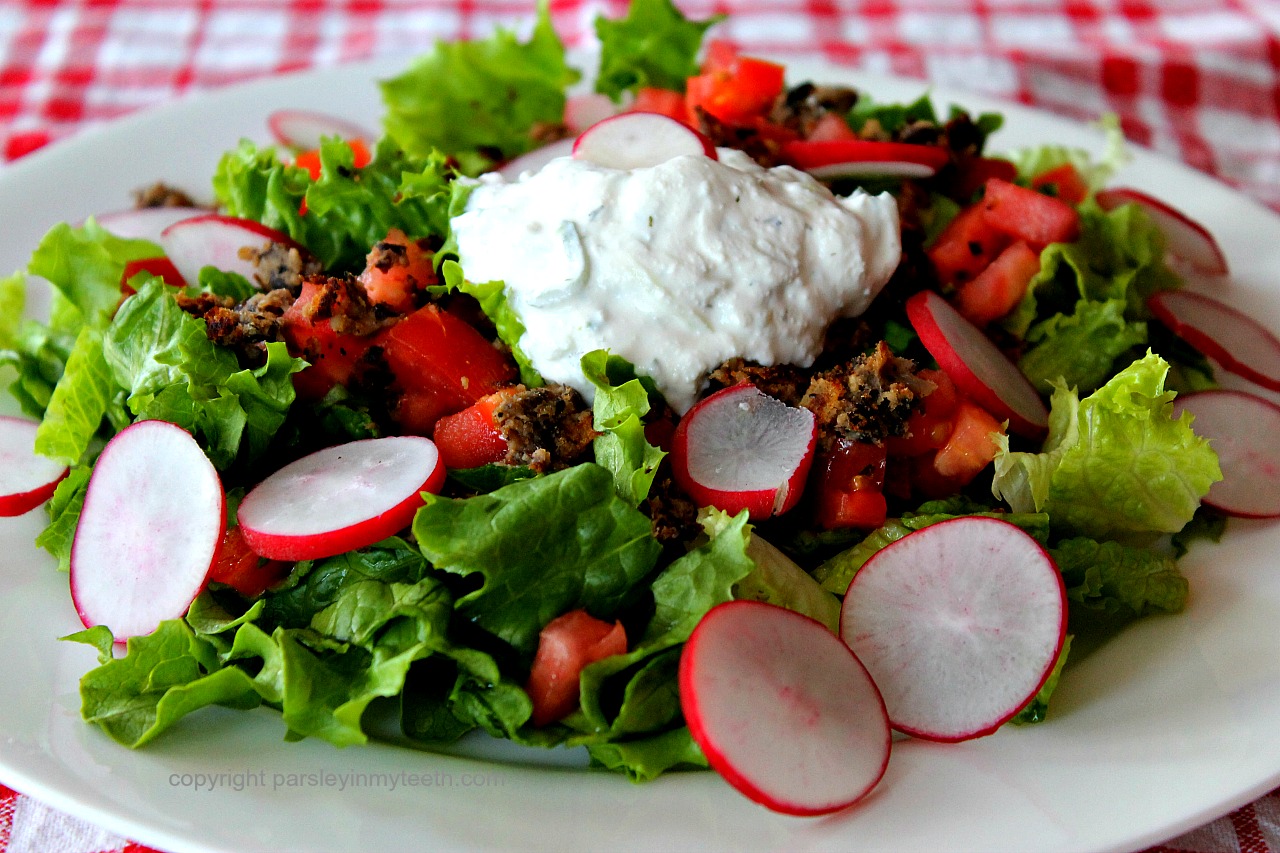
- Spread desired amount of sauce on both sides of bun. Place patty on bun and top with lettuce, tomato and condiments of your choice. Serve immediately.
- Alternative: Crumble patties over a salad like croutons and use with dressing of your choice!


Honest-to-goodness my first thought when I pulled up this post was: D**n! That burger looks SO good! So in fact, your burgers photograph really well :-).
Your description of what it takes to publish ONE POST is spot on! In fact, seeing all of the steps written down makes it all really daunting-sounding, doesn’t it? And yet, we persist. I guess that’s just how much we love what we’re doing and eating.
It feels great to think that my post helped or inspired you a little bit. Keep bloggin’!
Thanks so much, Annie. You have no idea how much your post – and your blog in general! – have helped me. I’m a true fan of yours, so thanks for taking time to take a look at what I’m doing.