Finally, the last item on our very long list of kitchen remodel “to do’s” was “done”! Frankly, I’m really surprised it’s taken this long, but better late than never, right? All that matters is that, after about 18 years of living with a kitchen I reallyreallyreally couldn’t stand, I finally have a kitchen I LOVE!!!
(In case you’re curious, here are links to my posts on Kitchen Remodel Update #1 and Kitchen Remodel Update #2. In the next week or so, I’ll do another post with my Kitchen Remodeling Tips.)
In an ideal world, we would have completely gutted the kitchen to change the layout (at least as much as possible since the kitchen is sandwiched between two neighboring condos), install new floors, move the washer/dryer, re-design the lighting, etc. But, for reasons I’ll discuss in my upcoming Kitchen Remodeling Tips post, we opted to give the kitchen a facelift by re-facing the cabinets, installing new counter tops, changing out the appliances, installing a new back splash, and some other projects.
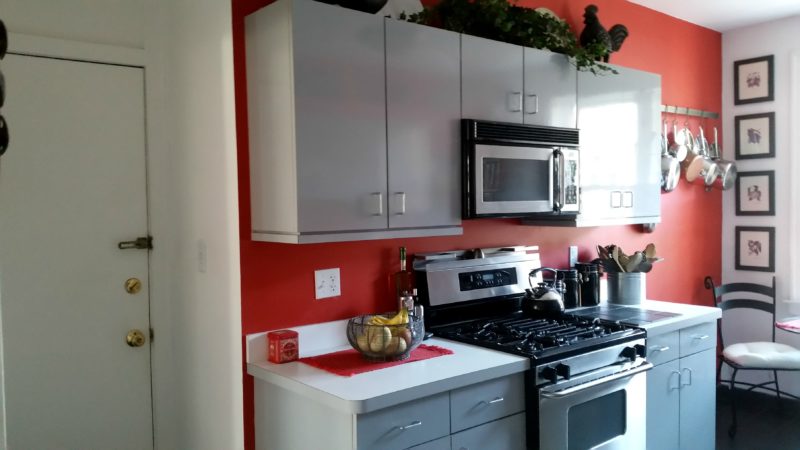
One of the motivating factors for undertaking this project is that the old kitchen simply didn’t match the vintage of our building (circa 1924). It had slick, grey cabinets that would have looked fabulous in an industrial loft, but not in this nearly 100-year-old building. We took a clue from the original butler’s pantry regarding the style of the cabinets. And for the counter tops I had to go with marble because….well, it’s marble – need I say more?
Ours is not a very big kitchen, but I’m happy with the amount of counter space we ended up with and that we were able to increase the seating from 2 to 4. Here are the before and after photos:
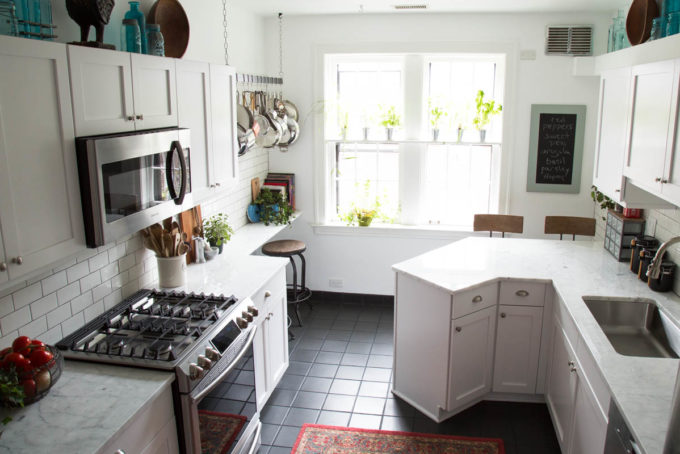
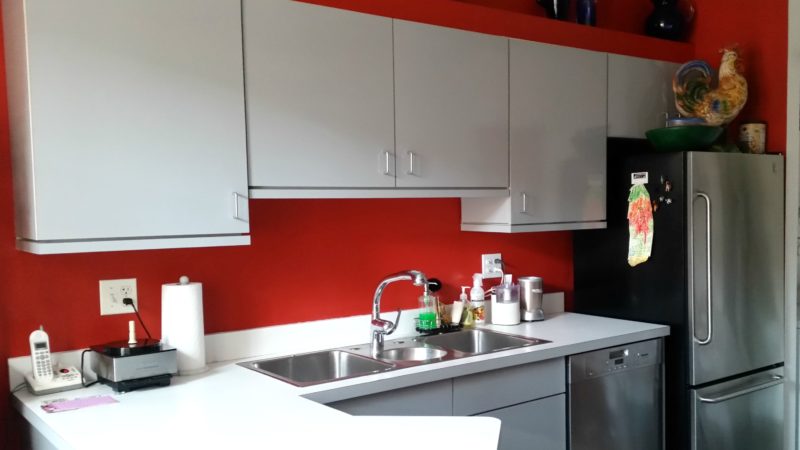
Before, this was the view upon walking into the kitchen:

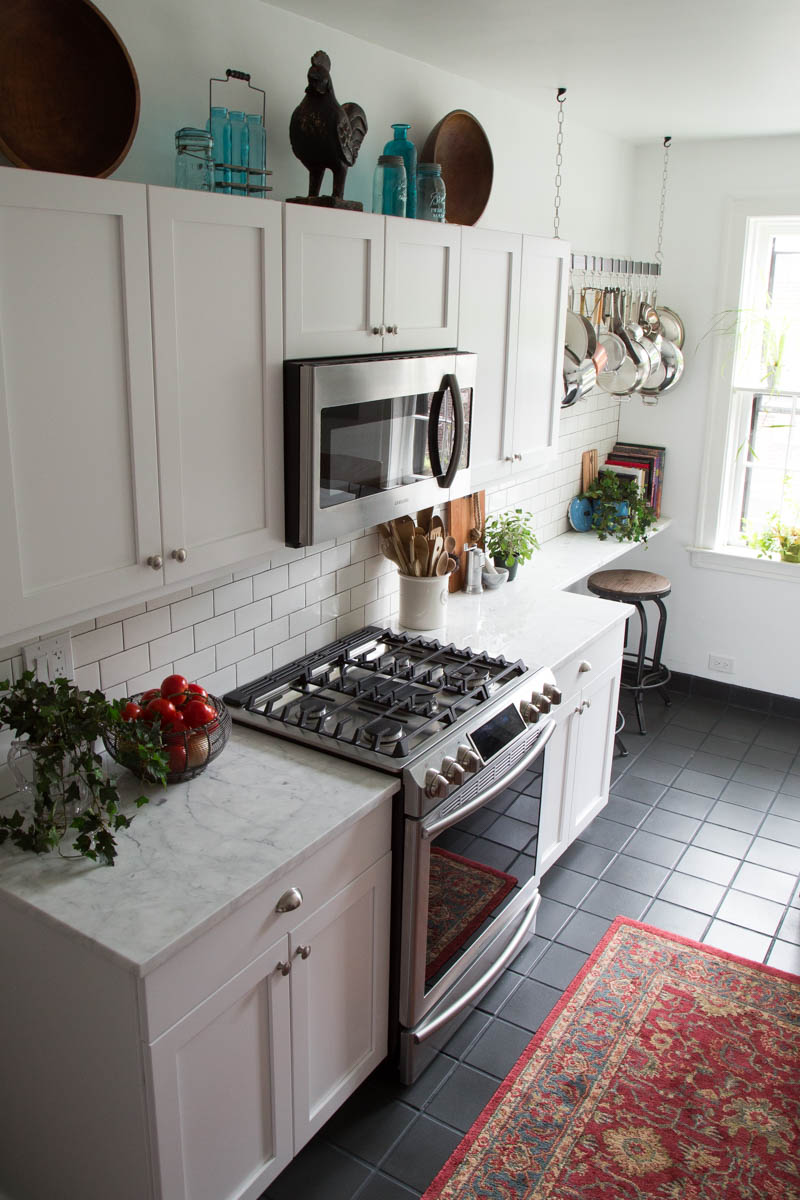
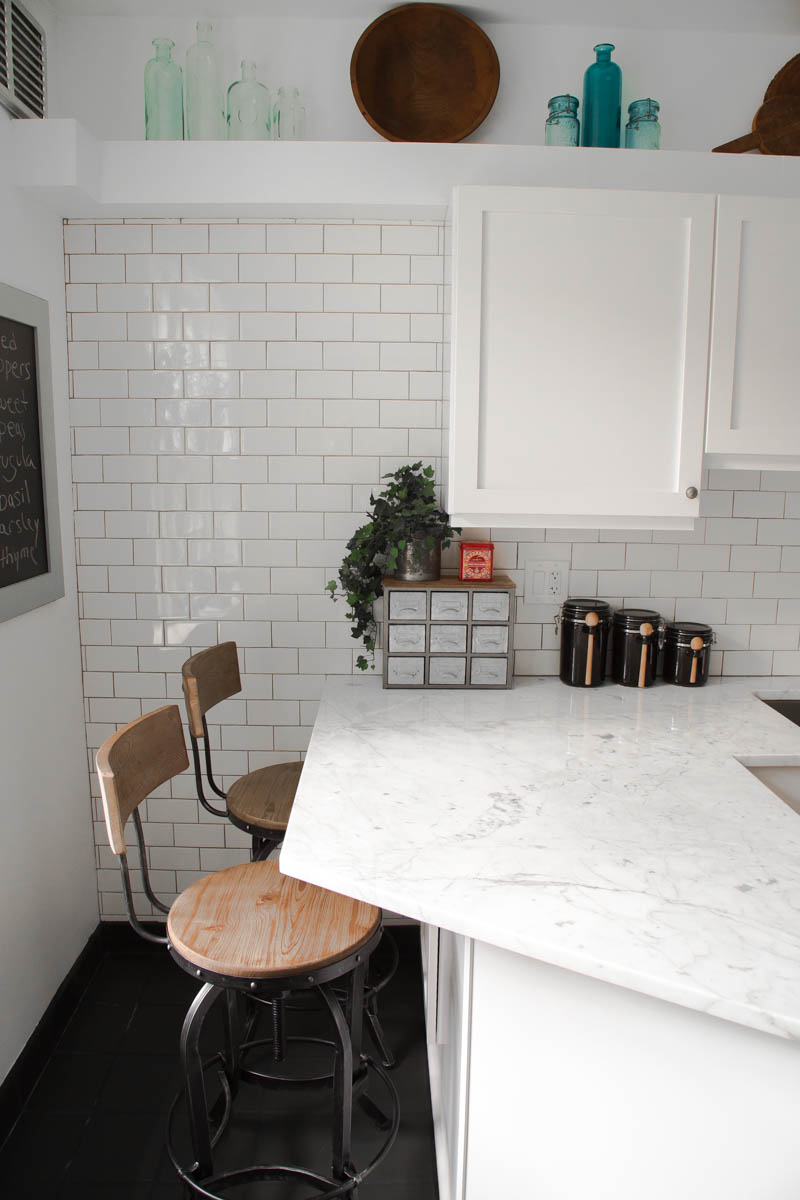
This is what it looks like now:
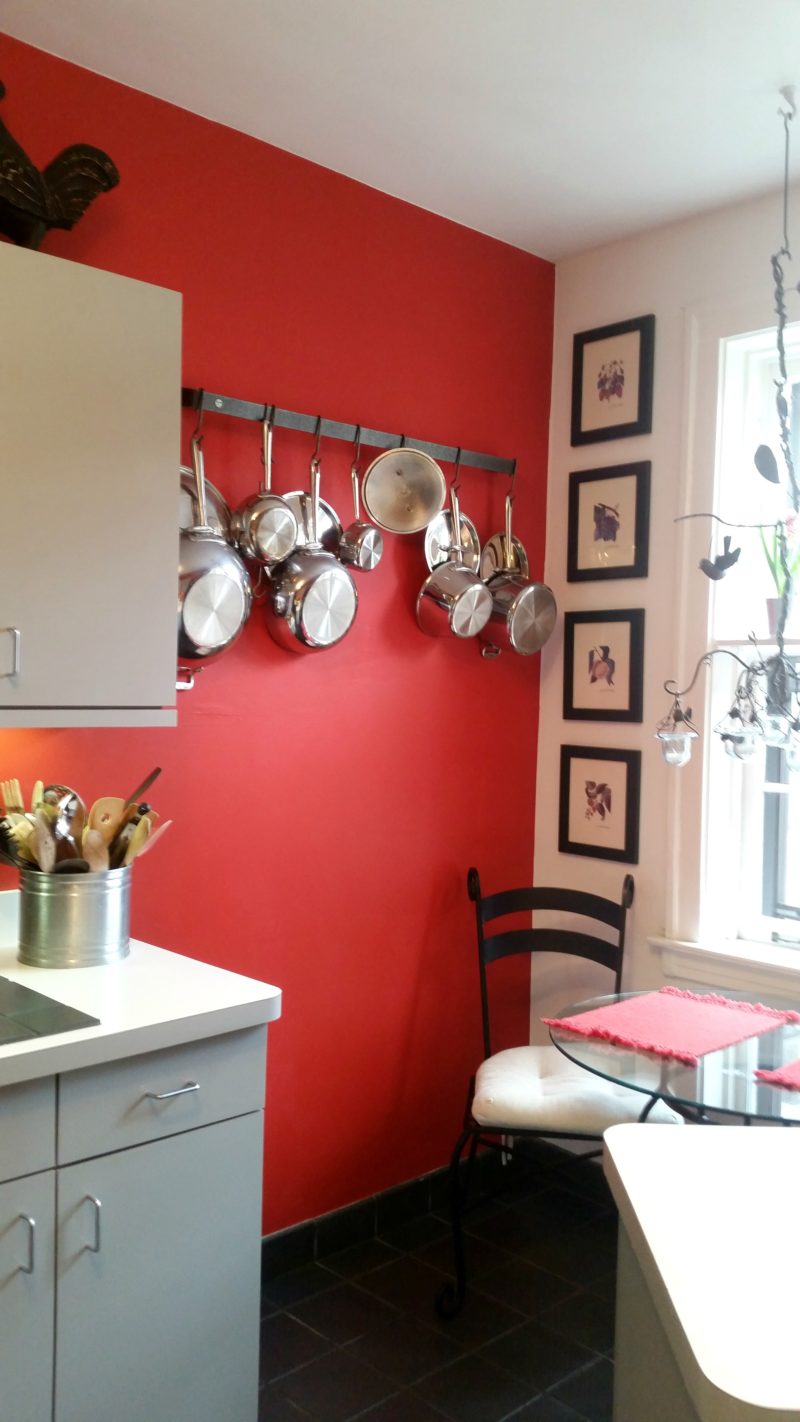
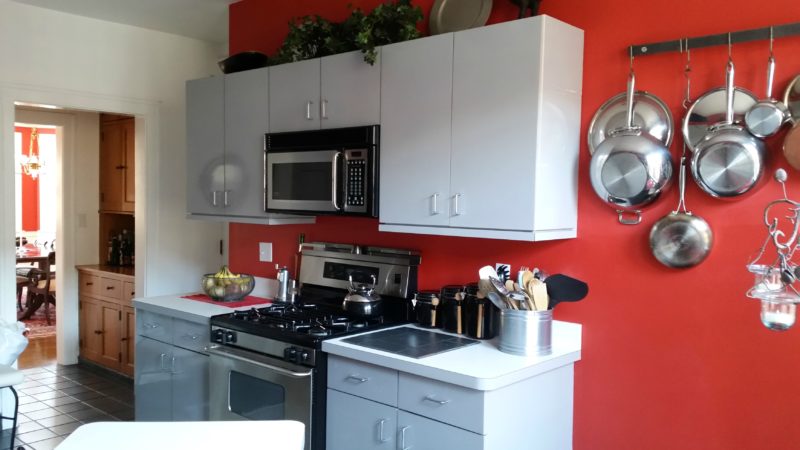
Before, this is what the opposite wall of the kitchen looked like:
This is what it looks like now:
and
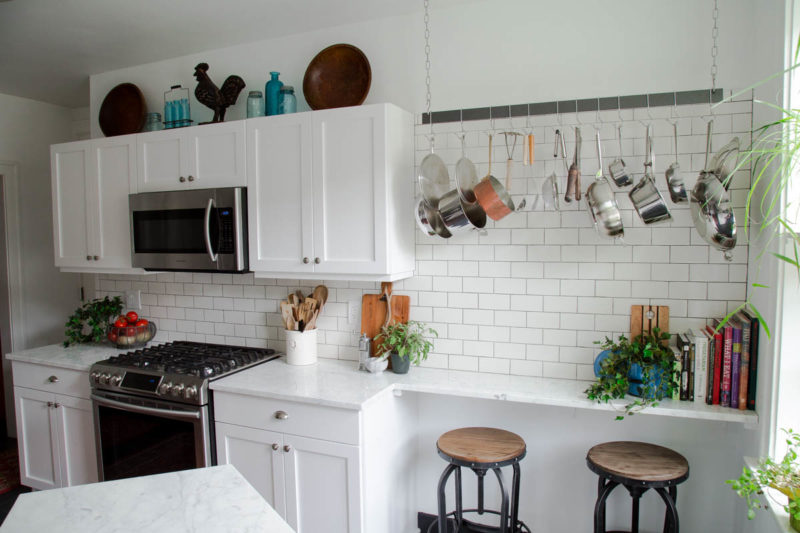
We had a small table which sat two, but didn’t fit the space well, so it had to go, but I wanted to keep the pot rack. Here’s what it looked like before:
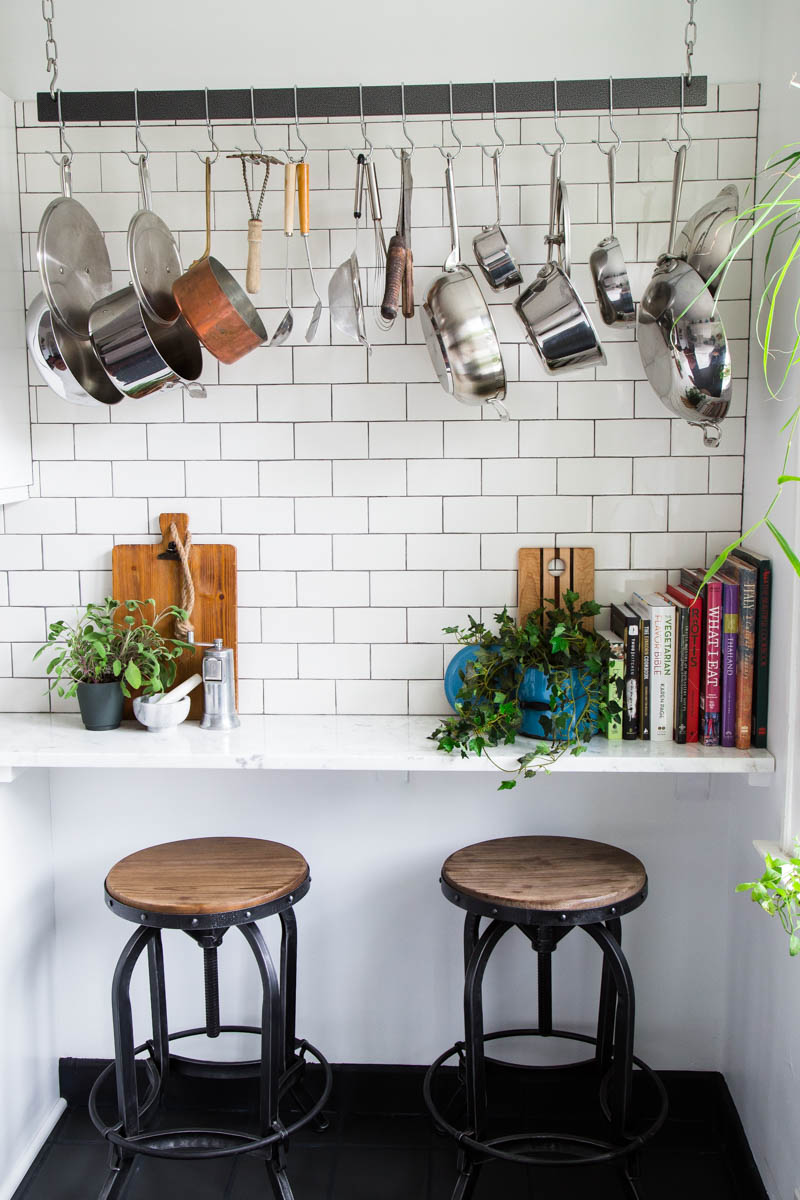
I also wanted to add a subway tile back splash up to the top of the cabinets, which my husband was against. And he wanted to get rid of the old, wall-mounted pot rack and replace it with a hanging one. He was definitely right about the pot rack. And I think my call on the breakfast bar and subway tile was the way to go. Here’s what it looks like now:
Before, I had a wrought iron rack loaded with my cookbooks and magazines which I wanted to keep. And I wanted to add subway tile all the way to the floor – again something my husband wasn’t thrilled about:
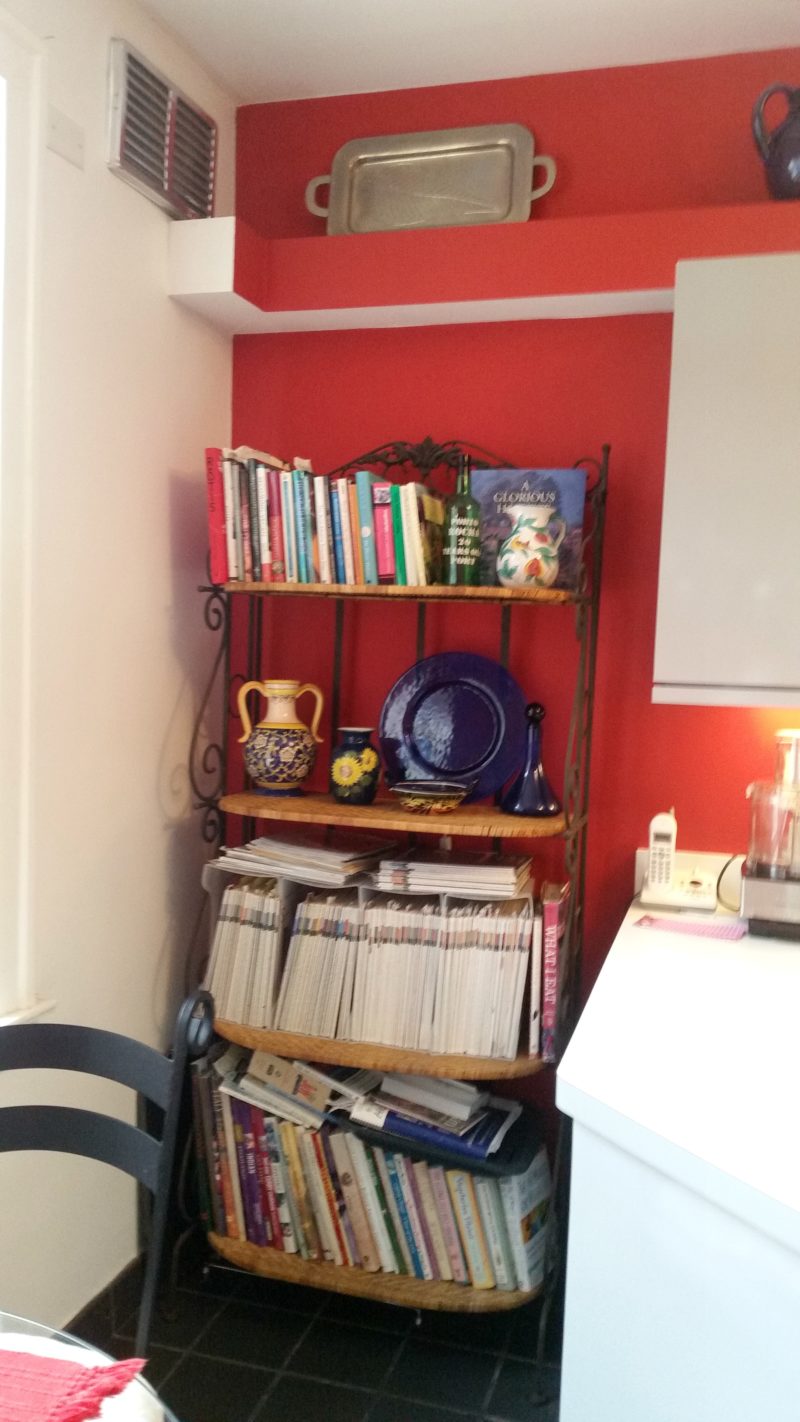
However, my husband did convince me that by losing the rack, we could add a breakfast bar to get more seating as well as counter space. He was right about that – again. And he now agrees that adding all the subway tile was the right move:
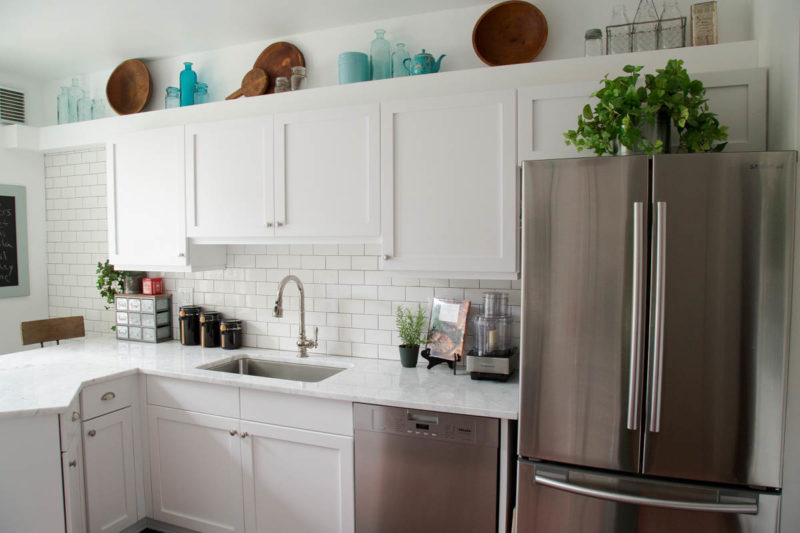
Before we had a huge kitchen sink with 3 bowls. Even though it might look functional, it wasn’t. And the forward placement of the faucet over the round center bowl frequently ended up ricocheting water off dishes and running down the front of the cabinets – and my shirt:
We replaced the sink with a large single bowl – that I absolutely love – which ended up giving us another foot of counter space. And extending the counter for the breakfast bar now gives us plenty of work space:
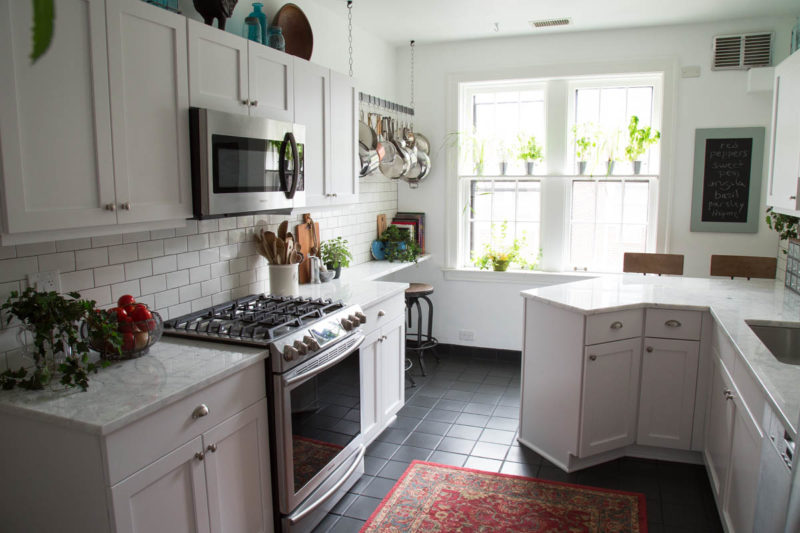
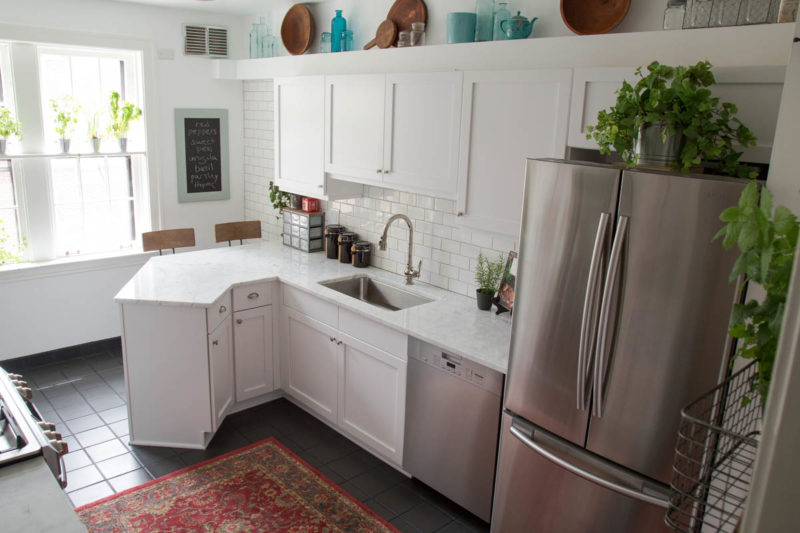
This is a wider view of what the kitchen looked like before:

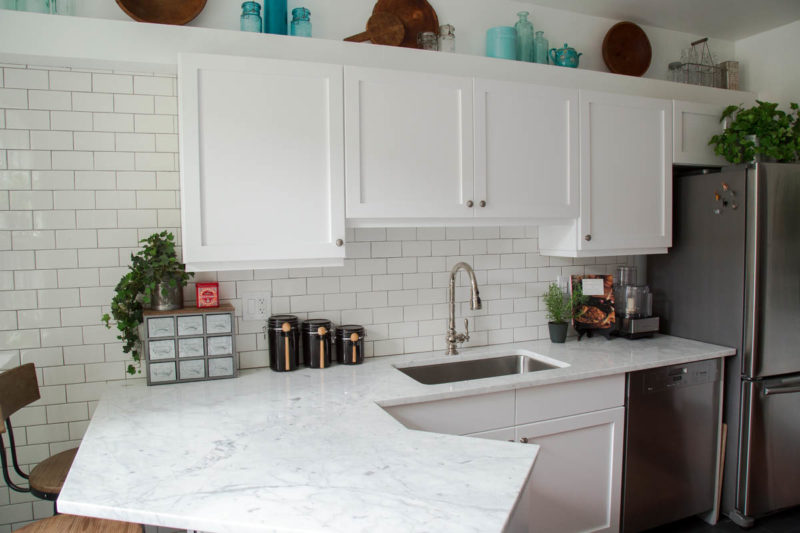
Here’s what it looks like now:

We debated whether to change the height of the upper cabinets to reach the ceiling, but since we have a good-sized butler’s pantry, we decided against it – especially since I can barely reach the top shelf in the cupboards as they are:
Plus, it gave me an excuse to use the top of the cabinets as a shelf to display the blue glass I’ve been collecting for years along with some of my antique wooden bowls (the one in the center of the photo is 200 year old walnut – a wedding gift to my parents which I inherited – lucky me!):
Another reason we decided against running the cabinets to the ceiling is because we couldn’t do it on the other side of the kitchen due to a soffit housing the washer/dryer exhaust vent. On the plus side, it gave me another display shelf for my favorite blue glass and ‘stuff’:
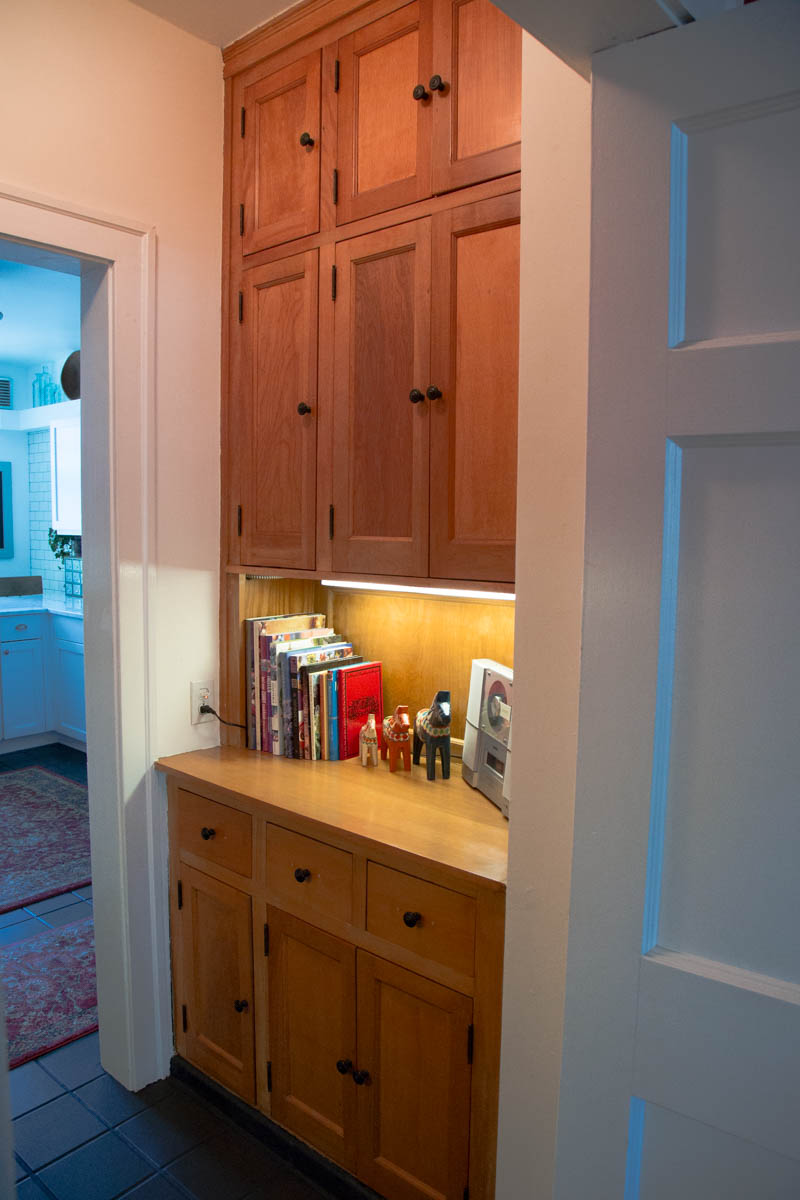
Our only option to expand the length of the kitchen was to remove a wall and demolish the original butler’s pantry on the opposite side. I just couldn’t bring myself to do that not only because of all the cupboard space it provides, but because it’s ORIGINAL (except the pulls) – and beautiful IMHO! Here’s one side of what we would have lost:
And here’s the other:
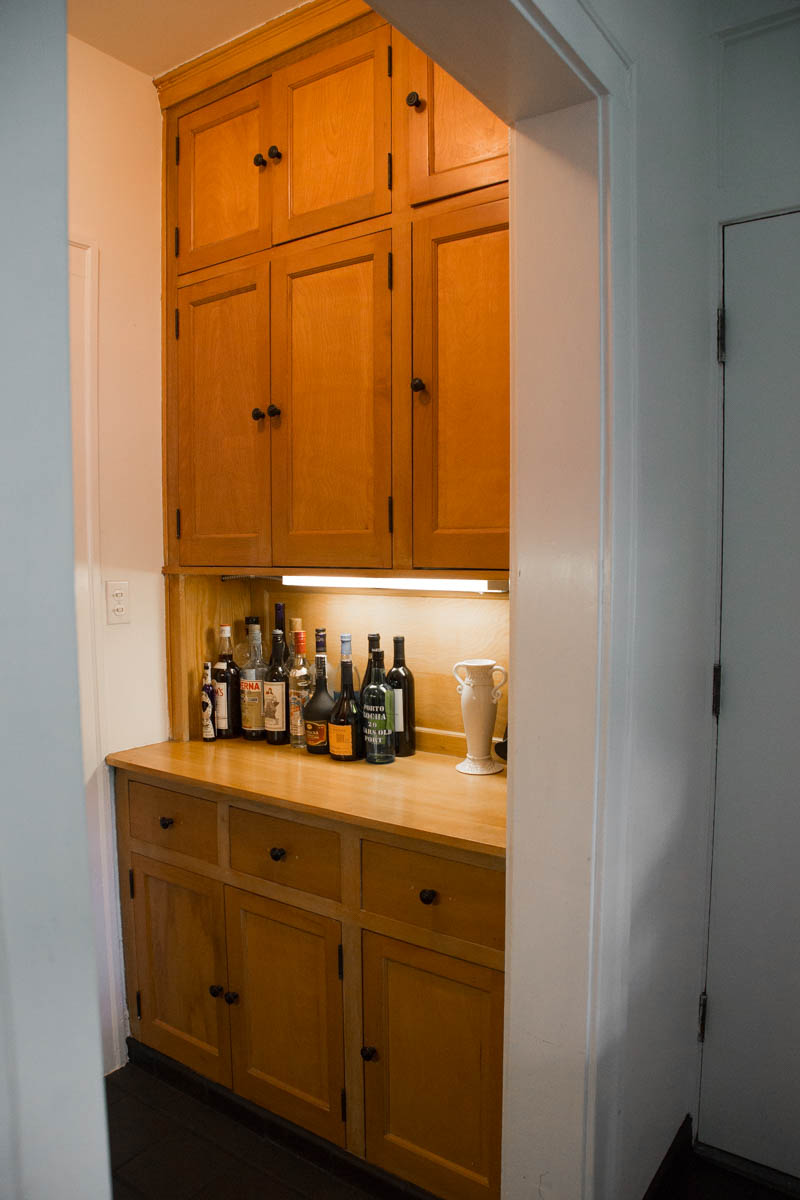
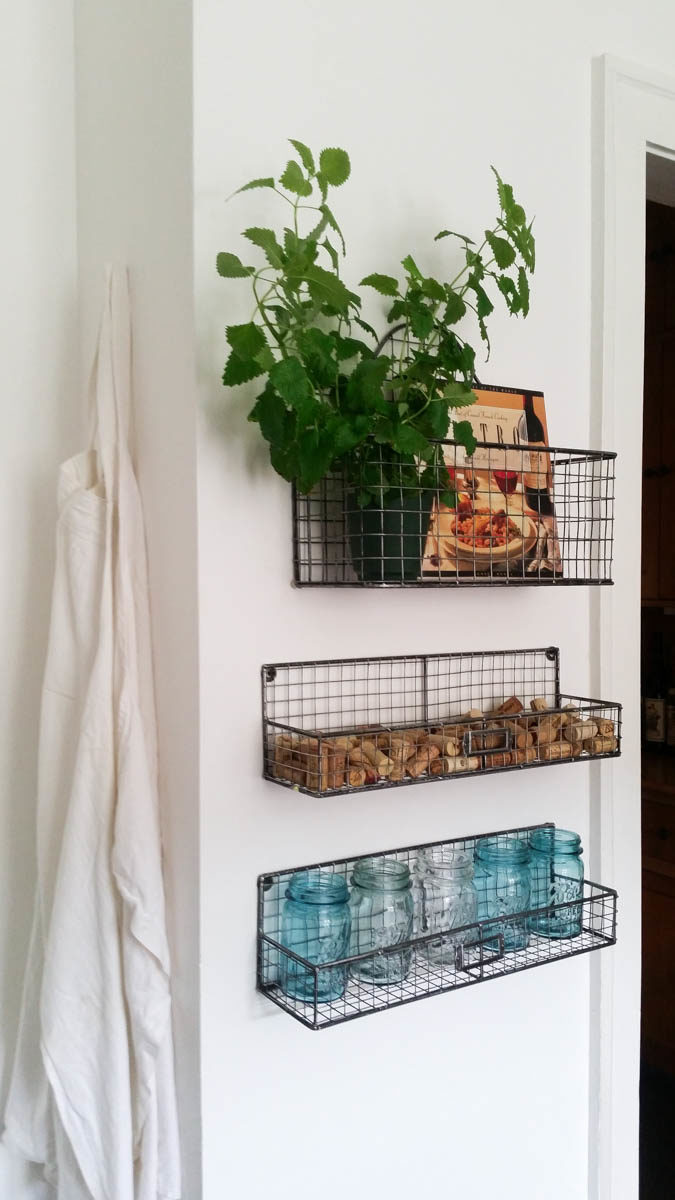
So we kept the butler’s pantry and I used the other side of the wall to hang my aprons and display shelves for more antique blue jars, my husband’s wine cork collection and more ‘stuff’:
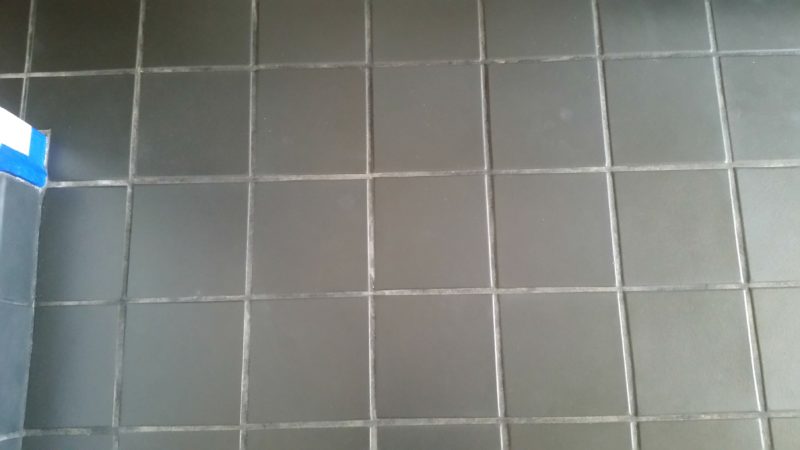
For reasons to be discussed in my upcoming Kitchen Remodeling Tips post, we decided to keep the existing dark tile flooring. However, the tiles and grout had never been sealed and were terribly discolored:
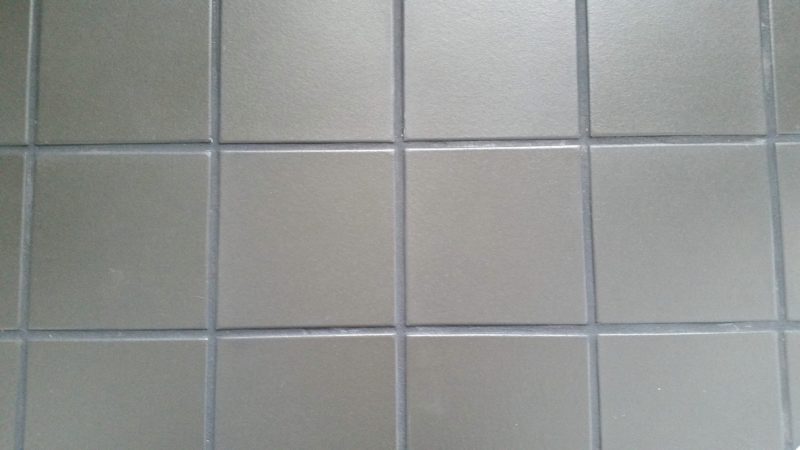
I spent 5 days scrubbing the tiles and grout and ended up buying a steam-cleaning machine which helped a lot. Then I re-stained the grout and sealing everything. Although the floors look almost like new, had I known what a pain in the *!#^ it was going to be, I probably would have made a different call:
So there it is! Both my husband and I are super pleased with the way everything turned out. From start to finish, it took 4 months, but the kitchen has actually been functional since mid-May. I just couldn’t take “after” photos because there were cabinet doors, moldings, hardware, etc. that were on back order.
For anyone contemplating their own kitchen remodel project, I hope you’ll check for my Kitchen Remodeling Tips post which will cover everything from construction/building code issues, marble versus granite, condo versus single-family home remodeling considerations, planning/order of construction matters, living in a construction zone, and other tidbits I hope are helpful.
And if there are any questions you have that you’d like me to cover in that post, please let me know in the comments section or shoot me an email and I’ll do my best to answer them!
Cheers everyone!


Leave a Reply